Solid hair and scalp bars are a naturalist’s dream: eco-friendly, nourishing, and easy to customize. These bars cleanse, condition, and soothe your scalp and hair, all without plastic bottles or harsh chemicals.
Here is exactly how you can make your own at home.
🥥 Ingredients & Tools Needed:
Base Ingredients:
- 1 cup Shea Butter or Cocoa Butter
- 1 cup Coconut Oil or Mango Butter
- ½ cup Beeswax pellets or Candelilla wax (vegan option)
- 2 teaspoons Jojoba or Castor Oil
- 15 to 20 drops Essential Oils (Lavender, Rosemary, Tea Tree, Peppermint)
Optional Additives (Pick 1 or 2 for custom blends):
- Herbal Powders: Hibiscus, Amla, Aloe Vera Powder, Bentonite Clay
- Natural Exfoliants: Ground oatmeal or coffee grounds (for scalp exfoliation)
Tools:
- Double boiler (or microwave-safe bowl)
- Silicone soap mold or cupcake tray
- Measuring spoons and cups
- Stirring spoon or spatula
- Gloves (optional for handling hot ingredients)
🔥 Step-by-Step Instructions:
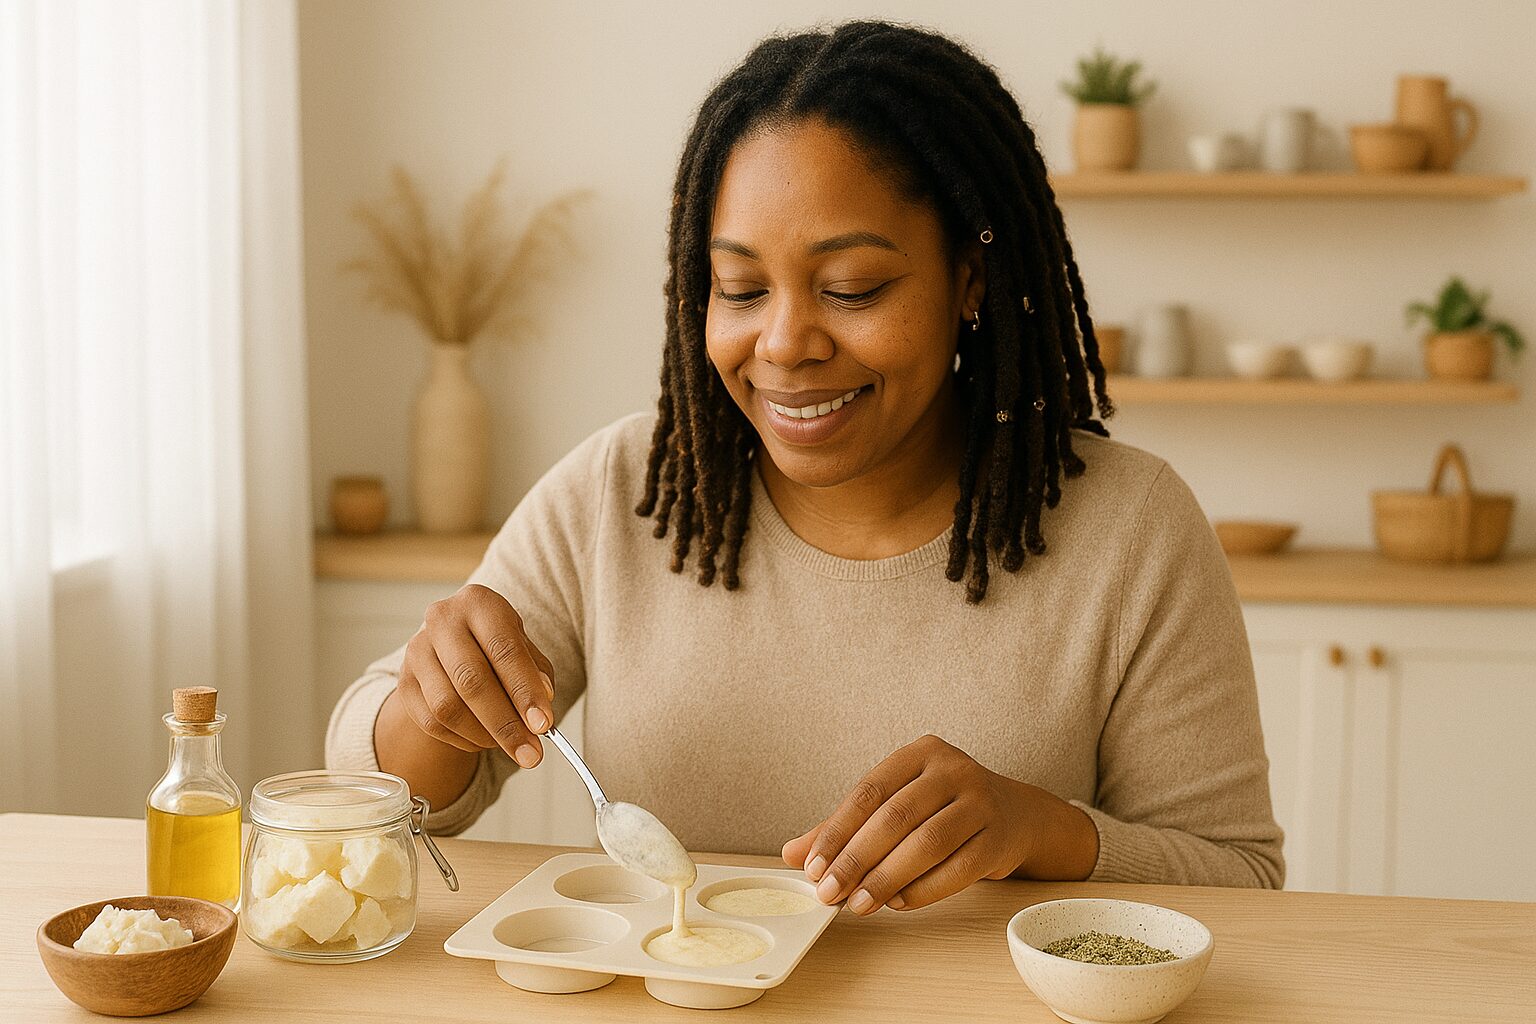
Step 1: Melt the Solid Ingredients
- Using a double boiler or microwave-safe bowl, gently melt together:
- Shea or Cocoa Butter
- Coconut or Mango Butter
- Beeswax or Candelilla wax
Tip:
Heat slowly and gently, stirring occasionally until fully melted. Avoid boiling.
Step 2: Add Liquid Oils
- Once fully melted, remove from heat.
- Stir in Jojoba or Castor oil.
- Mix gently until completely combined.
Step 3: Customize with Essential Oils and Additives
- Allow the mixture to cool slightly (2 to 3 mins).
- Add essential oils (lavender for calming, rosemary for growth, tea tree for scalp health).
- If adding herbal powders (e.g., Hibiscus, Aloe), stir in now until evenly distributed.
Popular Combos:
- Growth and Shine Bar: Rosemary + Peppermint + Castor Oil
- Clarifying Scalp Bar: Tea Tree + Lavender + Bentonite Clay
- Ultra-Moisturizing Bar: Cocoa Butter + Lavender + Hibiscus Powder
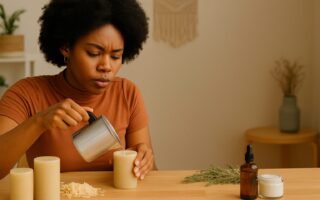
Step 4: Pour and Set
- Carefully pour the warm mixture into silicone soap molds or silicone cupcake trays.
- Gently tap molds on countertop to remove air bubbles.
- Allow bars to set at room temperature for at least 3 to 4 hours (overnight is ideal).
- For quicker setting, you can refrigerate for 1 to 2 hours.
Step 5: Unmold and Cure
- Once fully hardened, gently pop bars out of molds.
- Let the bars cure (dry) at room temperature for 24 to 48 hours for a firmer, longer-lasting texture.
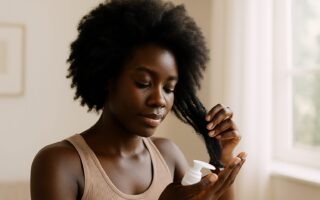
🧼 How to Use Your DIY Bars:
- Wet your hair thoroughly.
- Rub the bar directly onto your scalp and hair, creating a gentle lather.
- Massage your scalp gently, focusing on roots.
- Rinse thoroughly, then follow up with a conditioner bar or your favorite moisturizing conditioner.
🌿 Storage Tips:
- Keep bars dry between uses. Use a soap dish with drainage to prolong their life.
- Store extra bars wrapped in parchment paper or in an airtight container away from moisture and sunlight.
✨ Final Thoughts:
DIY Natural Hair and Scalp Bars are environmentally friendly, cost-effective, and gentle on your hair and scalp. Best of all, they’re fully customizable to your hair goals.
Ready for more DIY inspiration? Check out our DIY Trends for Black Women in 2025 for more ways to upgrade your self-care at home.