By Aria Wells, Editor, The BWN
There’s something deeply powerful about fire. Its glow, warmth, and transformative power make candles far more than mere decoration. Candles become tools for setting moods, reclaiming peace, and anchoring our spaces with purposeful intention.
For Black women especially, candle-making can become an empowering ritual. Every scent blended and wick placed represents not only beauty but intention—affirmations poured into wax. This article is part of our DIY series for 2025, exploring hands-on connections to creativity, beauty, and culture. Here’s how to create your own intention candles with detailed guidance every step of the way.
Why Make Your Own Candles?
Making your candles allows complete control over ingredients, ensuring they’re free from synthetic fillers and harsh chemicals. Your custom candles will have specific scents and purposes, becoming meaningful personal gifts, altar decorations, or soothing companions during meditations.
Supplies You’ll Need
- Soy Wax: Clean-burning, natural wax that holds scents exceptionally well.
- Wicks: Cotton or wood wicks, depending on your preference.
- Containers: Glass jars, ceramic cups, or heat-safe containers (like mason jars).
- Essential Oils or Fragrance Oils: Natural oils to enhance mood and intention (e.g., lavender, eucalyptus, rose).
- Colorants (Optional): Natural candle dyes or decorative dried herbs and flowers.
- Double Boiler or Heat-safe Bowl: Used for safely melting wax.
- Thermometer: Essential for tracking wax temperature.
- Wick Holders or Chopsticks: To keep wicks centered while cooling.
- Hot Glue Gun or Wick Stickers: To secure wicks in the container.
- Scissors: For trimming wicks.
Setting Your Intention
Before you start making your candle, clearly decide your intention. Write it down or speak it aloud. This intention might relate to self-love, focus, prosperity, protection, or grounding, influencing the oils and scents you choose.
Detailed Step-by-Step Candle-Making Guide
Step 1: Melt the Wax
- Measure your wax flakes. Typically, you’ll use twice the volume of wax flakes as the volume of your container.
- Heat wax using a double boiler setup: fill the bottom pot halfway with water, place the second pot on top with wax flakes, and heat gently.
- If using a microwave, heat wax in short intervals of 30 seconds, stirring frequently.
- Wax should be melted completely, reaching around 170°F (77°C). Use your thermometer to check this carefully.
Step 2: Prepare Your Container and Wick
- Attach the wick securely to the center-bottom of your container using a wick sticker or a dab of hot glue. Press firmly.
- To ensure the wick remains upright, lay a wick holder or two chopsticks horizontally across the container top, securing the wick upright between them.
Step 3: Add Fragrance
- Remove melted wax from heat once it reaches 170°F (77°C).
- Let wax cool slightly to approximately 150°F (65°C) before adding fragrance. This prevents the fragrance from evaporating.
- Add your selected essential oils or fragrance oils, approximately 1 ounce per pound of wax. Stir gently and continuously for about two minutes to ensure even distribution.
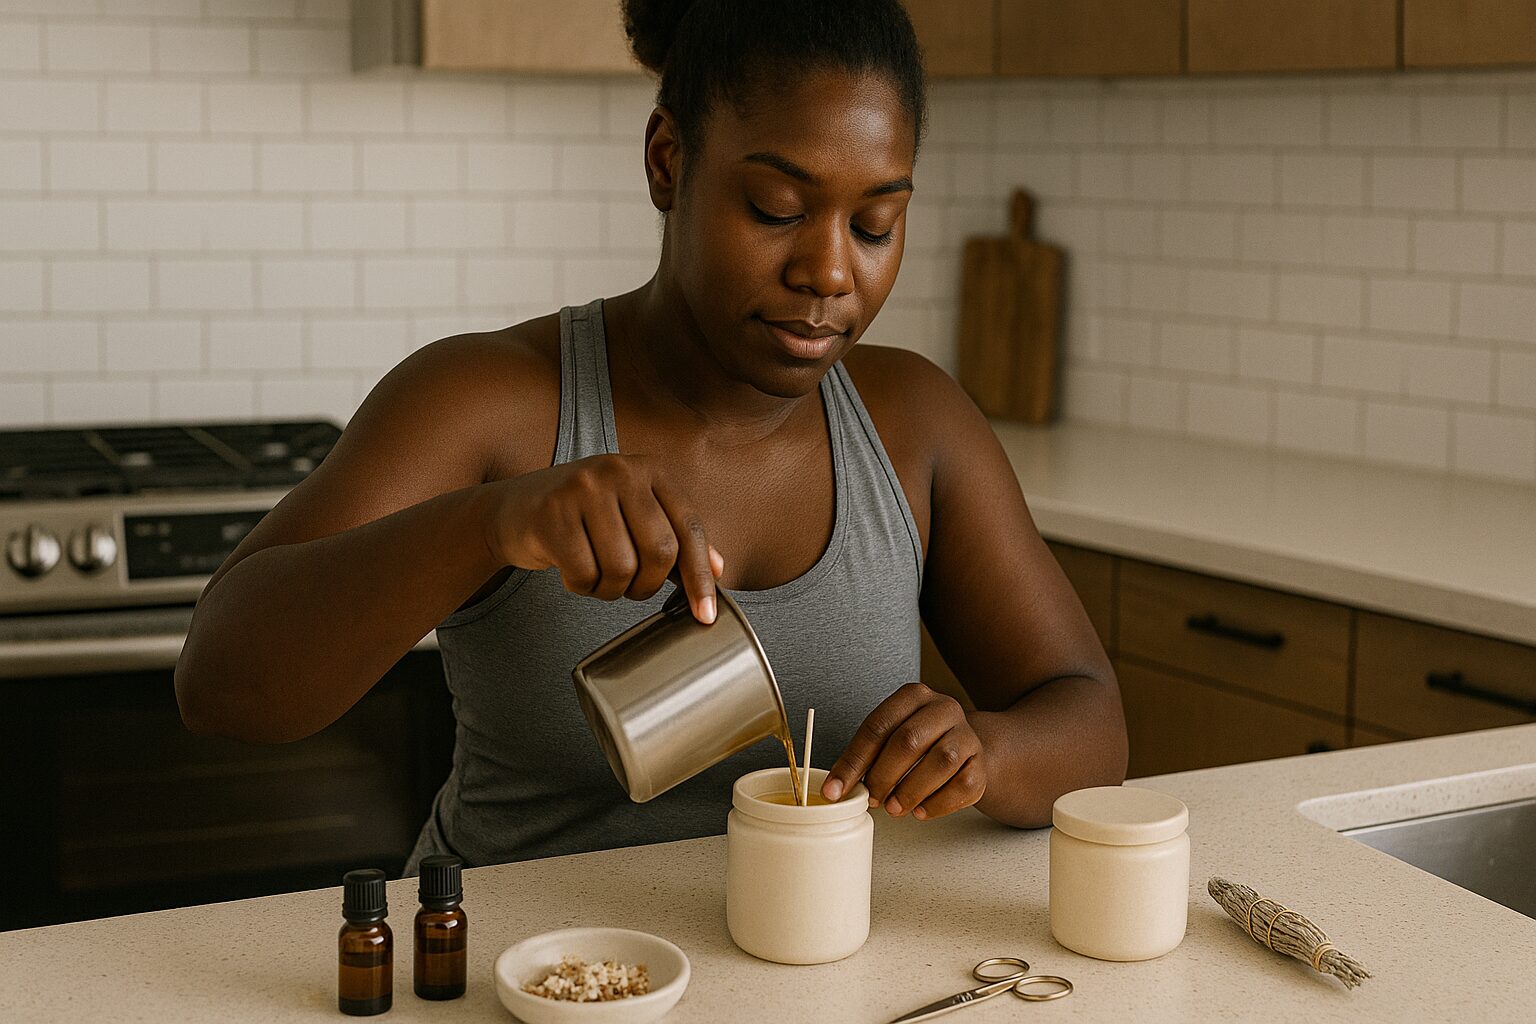
Step 4: Pouring the Candle
- Carefully pour your wax into your prepared container, leaving about half an inch from the top to allow space for the wax to settle.
- Move slowly and steadily to prevent air bubbles.
- Once poured, adjust the wick if necessary to ensure it remains centered and straight.
Step 5: Cooling and Setting
- Allow candles to cool undisturbed at room temperature for several hours, ideally overnight.
- Avoid moving the candles during this phase, as movement can create imperfections.
Step 6: Finalizing Your Candle
- After completely cooled, trim your wick to about ¼ inch (0.6 cm) with scissors. This length helps the candle burn evenly and safely.
- Label your candle with your written intention or decorate your container creatively to enhance its visual appeal and significance.
Candle Care and Safety Tips
- Always trim your wick before every burn to maintain safety and efficiency.
- Initially burn candles for 2 to 3 hours to create an even wax pool, preventing tunneling.
- Never leave candles unattended or near flammable items.
- Always burn candles on heat-safe surfaces and away from drafts or vents.
Suggested Scent Combinations for Intentions
| Intention | Fragrance Blend | Special Touch |
|---|---|---|
| Self-Love | Rose, Vanilla, Sandalwood | Sprinkle dried rose petals |
| Focus | Peppermint, Lemon, Rosemary | Add rosemary sprigs |
| Prosperity | Cinnamon, Orange, Clove | Decorate with orange peel |
| Grounding | Cedarwood, Myrrh, Patchouli | Sprinkle a pinch of sea salt |
Featured Products (Black-Owned & Popular)
| Product | Brand | Why We Recommend |
|---|---|---|
| Organic Soy Wax Flakes | BLK + GRN | Eco-friendly, non-toxic, and curated by Black artisans |
| Essential Oil Blends | Oshun Organics | Ethically sourced and inspired by African traditions |
| Wood Wick Candle Kit | LIT Brooklyn | Luxurious and sustainable, founded by a Black woman |
| Ceramic Candle Jars | Effie’s Paper | Stylish, reusable containers created by Black designers |
Creating candles with intention provides an opportunity to reconnect with yourself and your purpose. Allow the process to become a mindful practice, and let every flame ignite your affirmations and dreams.